Press-On Nails: The Game-Changing Beauty Hack You Need in Your Life
It started with the Glamnetic ads and viral Tiktok’s touting impossibly long-lasting nail glue. Before I knew it, I was 12 videos deep watching girls talk about how they’ve fallen in love with press-ons and will never go back to the salon. Never go back to the salon, you say? I’m sold. I ran to the drugstore to pick up 2 packs and some glue. Let’s get stickin’!
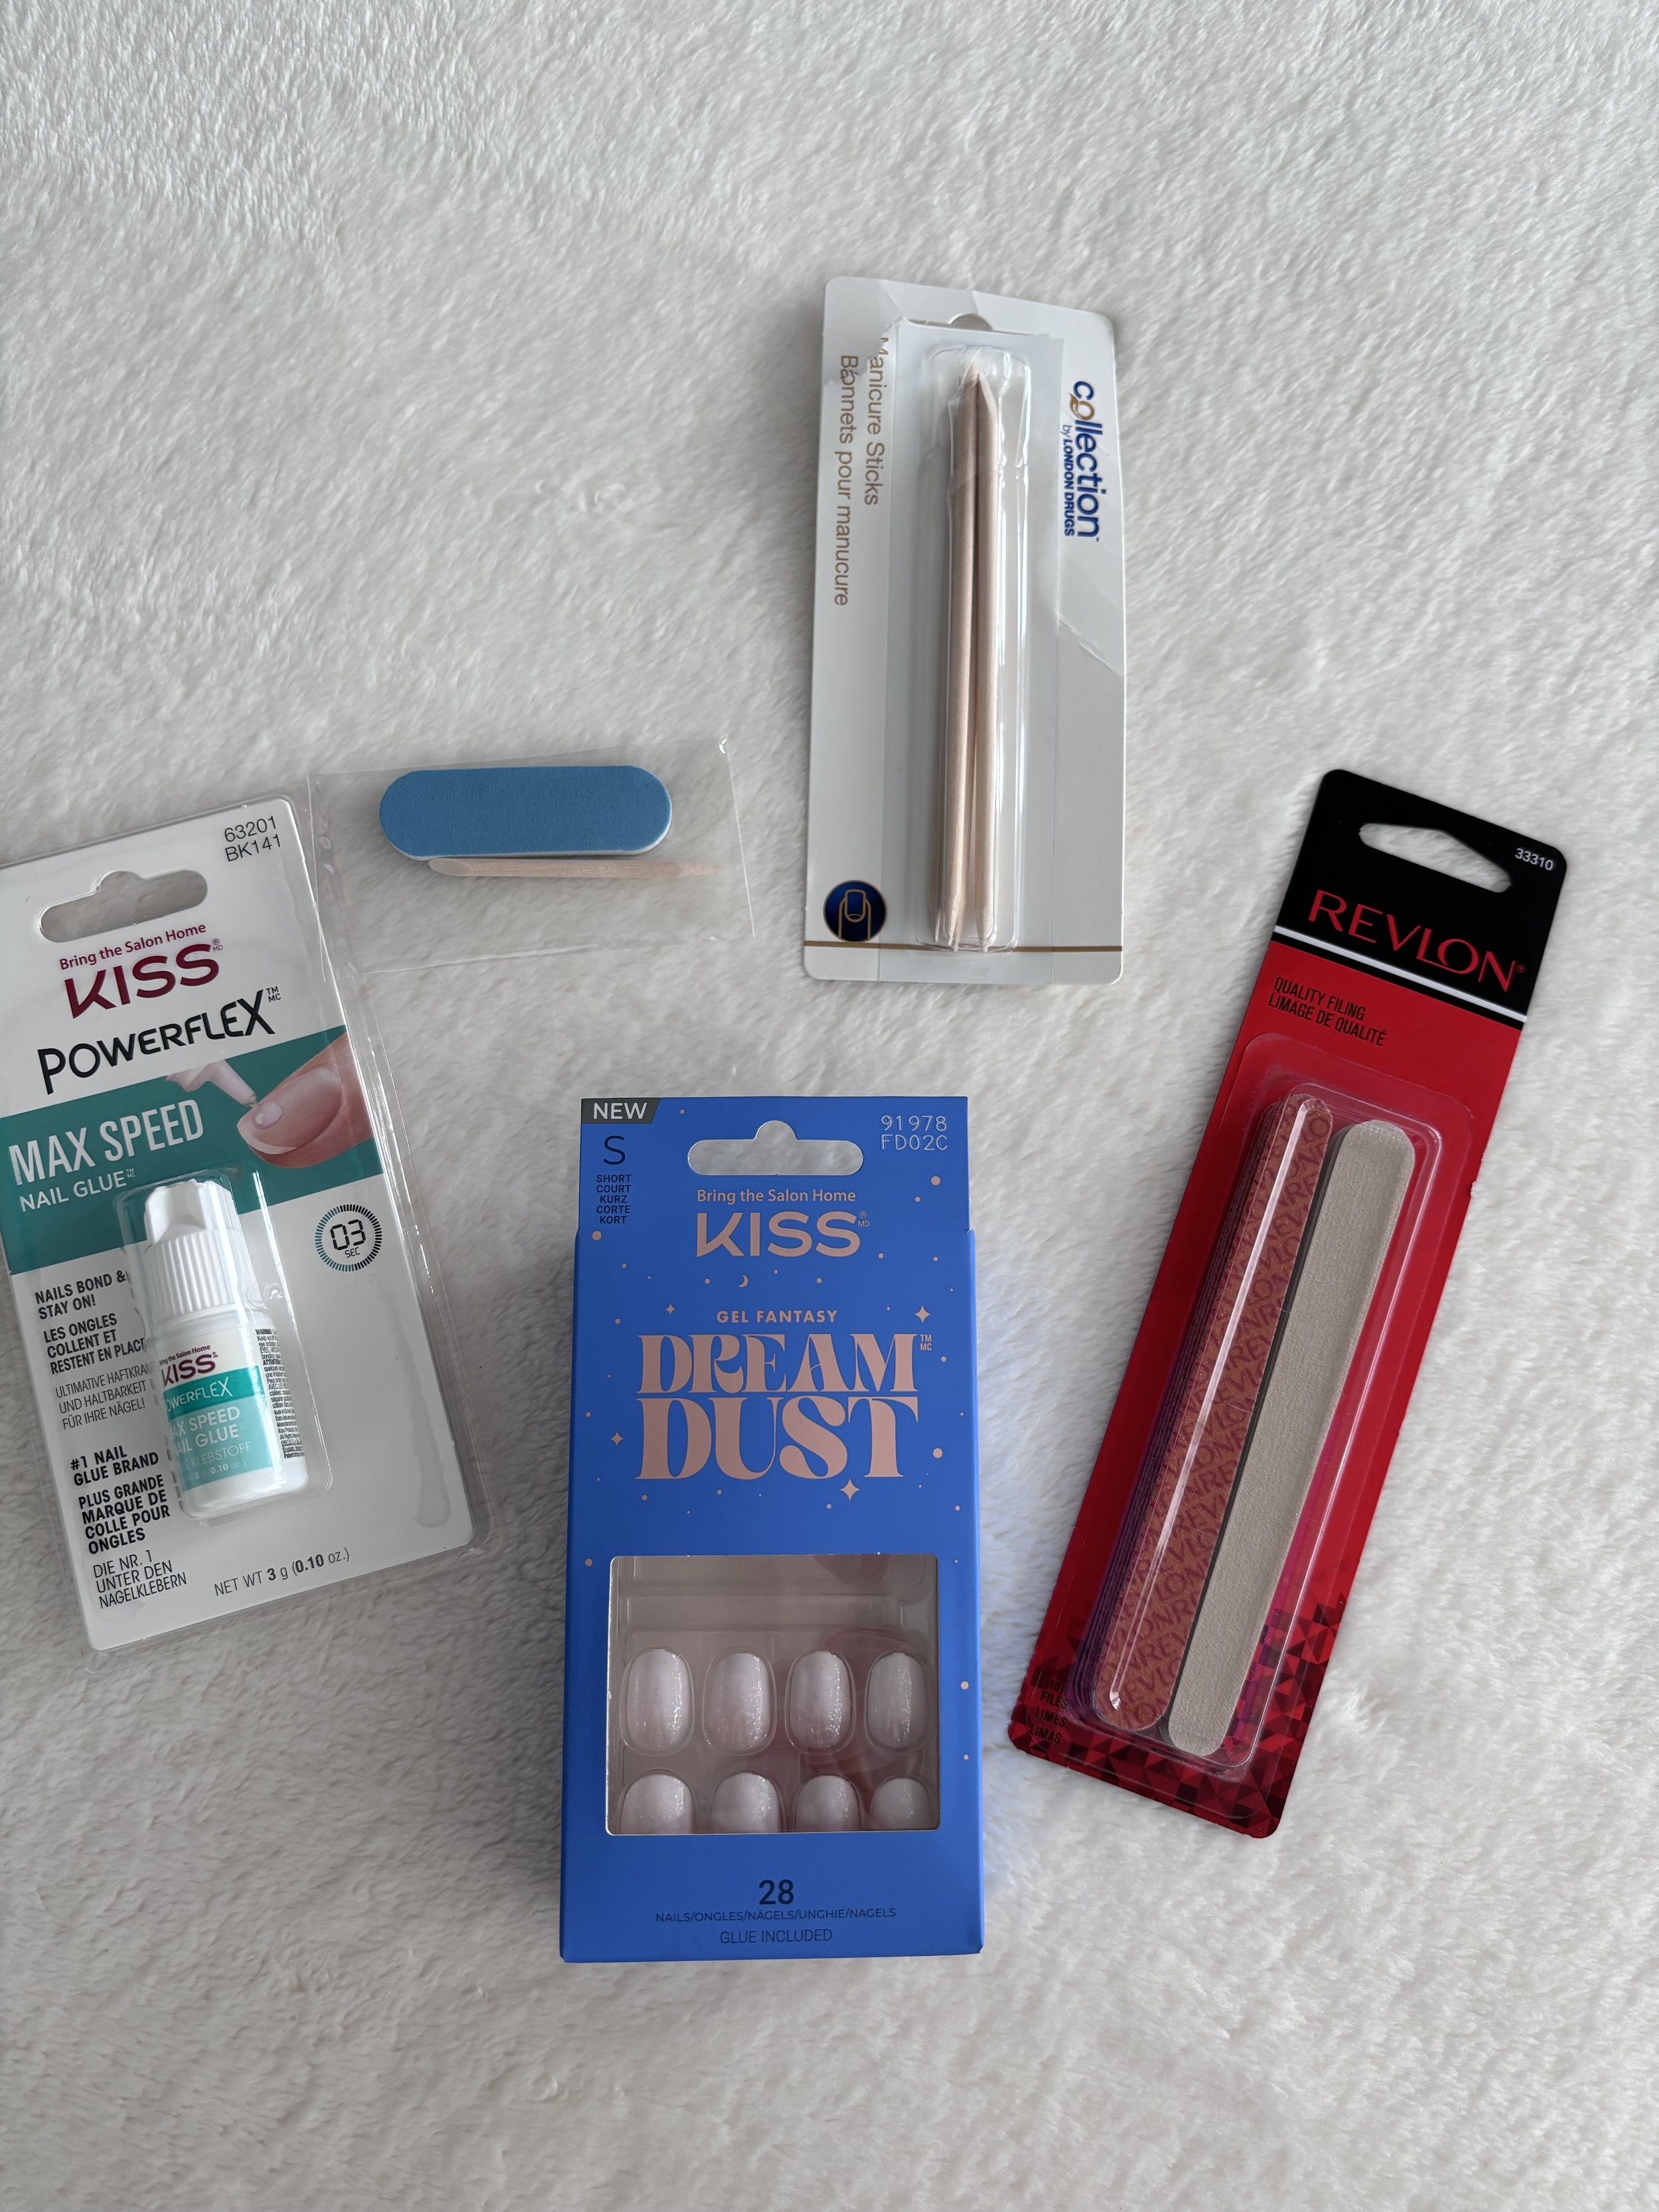
Here are the two sets I picked up (under $15.00 each!)
Why Press-On Nails Are Taking the Beauty World by Storm
It’s easy to see why press-ons are having a moment in the beauty world - they’re cheap! Times are tough and many are cutting back on luxuries to save. Two sets, nail glue, files and cuticle sticks cost less than a single gel manicure. I was a religious gel manicure girlie for a few years but in the past few months, I’ve decided to cut back for a multitude of reasons. The primary being the price increase in services… I just prefer having that money in my pocket. I also genuinely despise sitting in the chair for an hour - I get so bored and antsy. Lastly, the gel removal process was really taking a toll on my nails. The last time I had them removed my nails were paper thin. I knew I had to take a break for my nail health and my savings account.
Step-by-Step Guide: How to Apply Press-On Nails Like a Pro
This was my first time applying press-ons but here are some of the tips that worked best for me:
Make sure your nails are clean and dry. You want the glue to be able to adhere so you there shouldn’t be any moisture.
Cuticle sticks will help clean up the surrounding area without any cutting or damage to your nails. You want to be able to create the most space on your nail bed to apply the press-on.
I applied a small drop of glue to my nail as well as the actual press on. Take a deep breath and PRESS. Do not apply to much glue - more is not better (this was my assumption but I was wrong). You don’t want the glue coming out the sides onto your cuticles, it’ll get all crusty when it dries and it’s not a good look (again… I know this from experience).
Press down and hold for a minute. And voilà! You have brand new nails for 15 minutes and 15 bucks.
Final tip: Don’t forget you can trim and file the nails. One shape can’t work for everyone so I had to work with them a little bit to create a more natural look since that’s what I like.
My before and after! From lil nubs to Carmela Soprano glamour!
Counting the Days: How Long Did My Press Ons Last?
I applied these nails Thursday evening and by Monday they were still solid. I was very impressed at how long they lasted. I had heard horror stories of nails popping off within a day. I think with better application and higher quality glue these could stay on for over a week. With good care and gentle removal, these can be re-used as well.
The biggest issue I had was the length so I decided to remove them myself. It is very hard to go from short to long nails and I had a hard time with some daily tasks like texting and typing. A weekend of press-ons for a special occasion is exactly what I was looking for so it worked out perfect for me!
The Most Effective Technique for Press-On Nail Removal
I used the trusty method on the box. Take a small wooden cuticle stick (one comes with the box) around the edge of the nail and gently lift. They popped up with no issue at all! I think a good soak in some warm water ahead of time would make this even easier.
KISS Gel Fantasy Dreamdust, Silver Spoon, Short Oval in Silver Spoon
Final Thoughts from my Press-On Nail Journey
Overall, I’m sold. This is the perfect solution to wanting a little pick-me-up without the spending or time commitment. I will 100% be picking up more for date nights, special occasions or when I want to feel a little more glam.
xoxo
by fran
This site contains product affiliate links. We may receive a commission if you make a purchase after clicking on one of these links.


